Raspi SSH has become an essential tool for developers, hobbyists, and tech enthusiasts alike who work with Raspberry Pi devices. Whether you're managing a home server, automating IoT projects, or remotely controlling your Raspberry Pi from another device, SSH provides a secure and reliable way to interact with your system. As more users embrace the versatility of Raspberry Pi for various applications, understanding how to set up and optimize SSH becomes crucial. This guide dives deep into the world of SSH for Raspberry Pi, offering practical tips, troubleshooting advice, and advanced configurations to help you get the most out of this powerful feature.
Connecting to your Raspberry Pi via SSH is not just about convenience; it's about enhancing security and streamlining your workflow. In this article, we'll explore everything you need to know about setting up SSH on your Raspberry Pi, including enabling SSH, configuring firewalls, and managing user permissions. We'll also delve into advanced topics such as key-based authentication, tunneling, and troubleshooting common issues that may arise. By the end of this guide, you'll have a solid foundation to manage your Raspberry Pi securely and efficiently from anywhere in the world.
As the demand for remote access grows, so does the importance of understanding SSH and its integration with Raspberry Pi. With the right knowledge and tools, you can unlock the full potential of your device while ensuring that your data remains protected. This article is designed to provide valuable insights and actionable steps for both beginners and experienced users, helping you navigate the complexities of raspi SSH with confidence.
Read also:Exploring The Worlds Hottest Pepper A Journey Through The Scoville Scale
What Is Raspi SSH and Why Should You Use It?
SSH, or Secure Shell, is a network protocol that enables secure communication between devices over an unsecured network. When it comes to raspi SSH, this protocol allows users to remotely access and manage their Raspberry Pi devices without compromising security. By leveraging SSH, you can execute commands, transfer files, and monitor system performance from any location with an internet connection. This level of flexibility makes SSH an indispensable tool for anyone working with Raspberry Pi.
One of the primary advantages of using SSH for Raspberry Pi is its encryption capabilities. Every command and data exchange is encrypted, ensuring that sensitive information remains protected from unauthorized access. Additionally, SSH supports public key authentication, which eliminates the need for password-based logins and further enhances security. Whether you're a developer managing multiple Raspberry Pi devices or a hobbyist experimenting with IoT projects, understanding the basics of SSH is key to maximizing the functionality of your setup.
How to Enable Raspi SSH on Your Raspberry Pi?
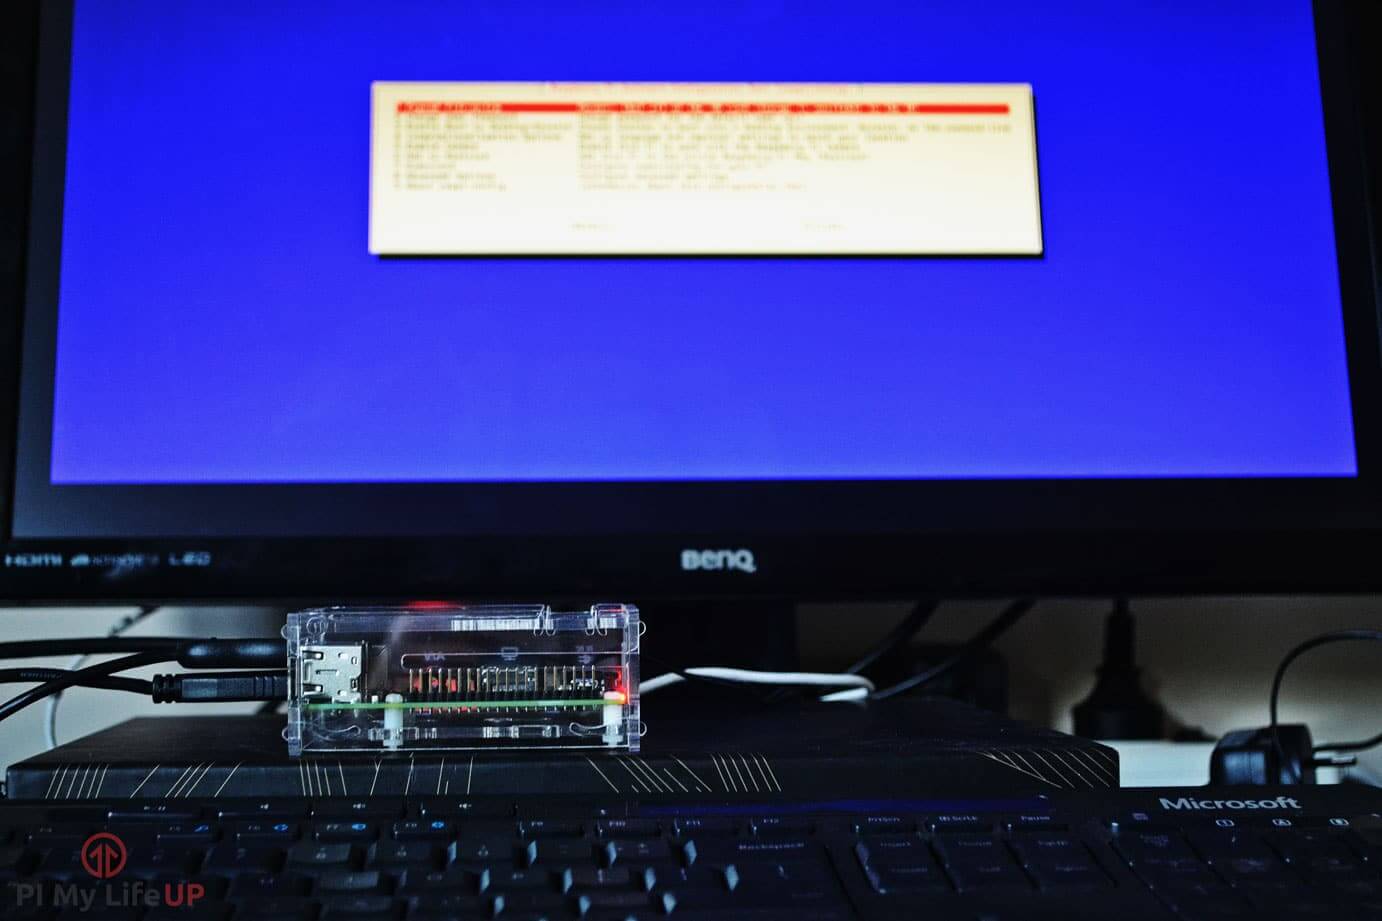
Enabling SSH on your Raspberry Pi is a straightforward process that requires minimal effort. To begin, you'll need to access the Raspberry Pi Configuration tool, which can be done either directly on the device or via the terminal. Once you've launched the configuration tool, navigate to the "Interfaces" tab and select "SSH." From there, you can enable SSH by toggling the switch to "Enabled." For users who prefer the command line, simply typing "sudo raspi-config" and following the prompts will achieve the same result. Once SSH is enabled, your Raspberry Pi will be ready to accept remote connections.
Can You Use Raspi SSH Without a Monitor?
Yes, one of the most appealing aspects of raspi SSH is its ability to function without the need for a physical monitor or keyboard. This feature is particularly useful for headless setups, where the Raspberry Pi operates independently without direct user interaction. To connect to your Raspberry Pi remotely, you'll need to know its IP address. This can be done by checking your router's device list or using tools like Advanced IP Scanner. Once you have the IP address, you can use an SSH client such as PuTTY (for Windows) or the built-in terminal on macOS and Linux to establish a connection.
What Are the Security Best Practices for Raspi SSH?
While SSH is inherently secure, there are additional steps you can take to further enhance the protection of your Raspberry Pi. One of the most effective methods is to disable password-based authentication and rely solely on public key authentication. This approach minimizes the risk of brute-force attacks by eliminating the possibility of guessing passwords. Additionally, configuring a firewall to restrict SSH access to specific IP addresses can significantly reduce unauthorized access attempts. Regularly updating your Raspberry Pi's software and firmware is another crucial step in maintaining a secure environment.
How Can You Troubleshoot Common Issues with Raspi SSH?
Despite its reliability, SSH connections can sometimes encounter issues that prevent successful access. Common problems include incorrect IP addresses, misconfigured firewalls, and authentication errors. To troubleshoot these issues, start by verifying the IP address of your Raspberry Pi and ensuring that your SSH client is correctly configured. If the problem persists, check your firewall settings to ensure that port 22 (the default SSH port) is open. Additionally, reviewing the SSH logs on your Raspberry Pi can provide valuable insights into the root cause of the issue.
Read also:Exploring The Sweet Delights Of Rocky Road Ice Cream
Is It Safe to Change the Default SSH Port for Raspi SSH?
Changing the default SSH port from 22 to a non-standard port can add an extra layer of security to your Raspberry Pi setup. By doing so, you reduce the likelihood of automated attacks that target the default port. However, it's important to note that changing the port alone is not a foolproof solution and should be combined with other security measures. To change the SSH port, you'll need to edit the SSH configuration file using a text editor such as nano or vi. After making the necessary changes, restart the SSH service to apply the new settings.
Advanced Configurations for Raspi SSH
For users seeking to maximize the capabilities of raspi SSH, advanced configurations offer a range of possibilities. One such option is SSH tunneling, which allows you to securely access services running on your Raspberry Pi from remote locations. By setting up an SSH tunnel, you can bypass firewalls and other network restrictions that might otherwise prevent access. Another advanced feature is SSH forwarding, which enables you to forward ports and create secure connections between multiple devices.
How to Automate Tasks with Raspi SSH?
Automating tasks with raspi SSH can significantly improve efficiency and reduce manual intervention. By leveraging tools like cron jobs and shell scripts, you can schedule routine tasks such as backups, system updates, and data transfers to run automatically at specified intervals. To implement automation, you'll need to create a script that includes the necessary commands and then configure cron to execute the script at the desired time. This approach not only saves time but also ensures that critical tasks are completed without fail.
What Are Some Best Practices for Managing User Permissions with Raspi SSH?
Managing user permissions is a critical aspect of maintaining a secure SSH environment on your Raspberry Pi. By default, the Raspberry Pi operating system creates a user account named "pi," which has administrative privileges. While this setup is convenient for beginners, it's advisable to create additional user accounts with limited permissions for everyday tasks. This approach minimizes the risk of accidental system changes and ensures that only authorized users have access to sensitive operations. Additionally, regularly reviewing and updating user permissions can help maintain a secure and organized environment.
Conclusion: Mastering Raspi SSH for Enhanced Productivity
SSH is a powerful tool that empowers users to interact with their Raspberry Pi devices securely and efficiently. By understanding the fundamentals of raspi SSH and implementing best practices, you can unlock the full potential of your setup while safeguarding your data. Whether you're a seasoned developer or a newcomer to the world of Raspberry Pi, mastering SSH will undoubtedly enhance your productivity and open up new possibilities for your projects. As you continue to explore the capabilities of SSH, remember to stay informed about the latest security trends and updates to ensure that your system remains protected.
Table of Contents
- What Is Raspi SSH and Why Should You Use It?
- How to Enable Raspi SSH on Your Raspberry Pi?
- Can You Use Raspi SSH Without a Monitor?
- What Are the Security Best Practices for Raspi SSH?
- How Can You Troubleshoot Common Issues with Raspi SSH?
- Is It Safe to Change the Default SSH Port for Raspi SSH?
- Advanced Configurations for Raspi SSH
- How to Automate Tasks with Raspi SSH?
- What Are Some Best Practices for Managing User Permissions with Raspi SSH?
- Conclusion: Mastering Raspi SSH for Enhanced Productivity